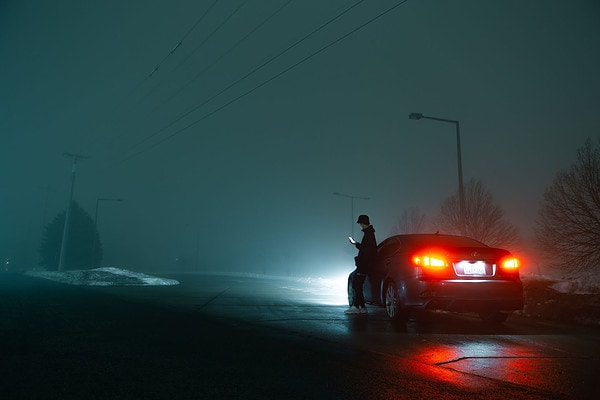
Capturing photos in low-light conditions can be challenging, but with the right equipment and techniques, you can take stunning photos that are full of detail and clarity. In this article, we will explore the key settings and equipment you need to master low-light photography, as well as some tips and techniques to help you capture the perfect shot.
H2: Understanding the Camera Settings
To take great photos in low-light conditions, it’s important to understand the key camera settings. Here are some of the most important settings to consider:
ISO
ISO is the measure of your camera’s sensitivity to light. In low-light conditions, you’ll need to increase your ISO to capture more light. However, high ISO values can introduce noise or graininess to your photos. Experiment with different ISO values to find the right balance between brightness and noise.
Aperture
Aperture is the size of the opening in your lens. A wider aperture lets in more light and creates a shallower depth of field, which can be great for artistic shots. However, a wider aperture also means a smaller depth of field, which can make it harder to keep your subject in focus.
Shutter Speed
Shutter speed determines how long your camera’s shutter stays open. A longer shutter speed lets in more light but can also introduce blur if you or your subject move during the exposure. Consider using a tripod or image stabilization to help you capture sharp images with longer shutter speeds.
White Balance
White balance controls the color temperature of your photos. In low-light conditions, you may need to adjust your white balance to prevent your images from looking too cool or warm.
RAW vs. JPEG
When shooting in low-light conditions, shooting in RAW format can give you more flexibility to adjust the exposure and other settings in post-processing. However, RAW files take up more space on your memory card and may require more time to process.
Choosing the Right Equipment
The right equipment can make all the difference when shooting in low-light conditions. Here are some key pieces of equipment to consider:
Lenses
A lens with a wider aperture can let in more light and create a shallower depth of field. Consider investing in a prime lens with a wide aperture, such as a 50mm f/1.8.
Tripods
A tripod can help you capture sharp photos with longer shutter speeds. Look for a sturdy tripod that can support the weight of your camera and lens.
Remote Shutter Release
A remote shutter release can help you minimize camera shake when taking long exposures. You can also use the self-timer function on your camera to avoid touching the camera during the exposure.
External Flash
An external flash can provide additional light when shooting in low-light conditions. Consider investing in a flash that can be bounced off a ceiling or wall to create a more natural-looking light.
Techniques for Low-Light Photography
In addition to the right camera settings and equipment, there are some techniques you can use to capture great low-light photos. Here are a few to consider:
Using Available Light
Look for sources of available light, such as streetlights, candles, or the moon. Experiment with different angles and compositions to find the best lighting for your subject.
Light Painting
Light painting involves using a flashlight or other light source to “paint” light onto your subject during a long exposure. This can create unique and artistic effects.
HDR Photography
HDR photography involves taking multiple photos at different exposures and combining them in post-processing to create a photo with more detail in both the highlights and shadows.
Long Exposure
Long exposure involves using a longer shutter speed to capture more light over a longer period of time. This technique can be used to create stunning photos of star trails or light trails from cars.
Tips for Successful Low-Light Photography
Finally, here are some tips to help you capture great low-light photos:
Patience
Low-light photography requires patience, as you may need to wait for the right lighting conditions or experiment with different settings to get the shot you want.
Experimentation
Don’t be afraid to try new techniques and settings. Experimentation is key to mastering low-light photography.
Practice
Practice makes perfect, so take your camera out and shoot as often as possible. Try shooting in different lighting conditions to improve your skills.
Post-Processing
Finally, don’t forget the importance of post-processing. Use editing software to adjust the exposure, contrast, and other settings to bring out the best in your photos.
Conclusion
In conclusion, mastering low-light photography with your DSLR camera requires an understanding of the key settings, the right equipment, and some tips and techniques to help you get the shot you want. With patience, experimentation, and practice, you can take stunning photos that capture the beauty of low-light conditions. So get out there and start shooting!

